Account Creation
In this guide, we will walk you through setting up account creation using Clerk for authentication. Follow these steps to get started.
Steps
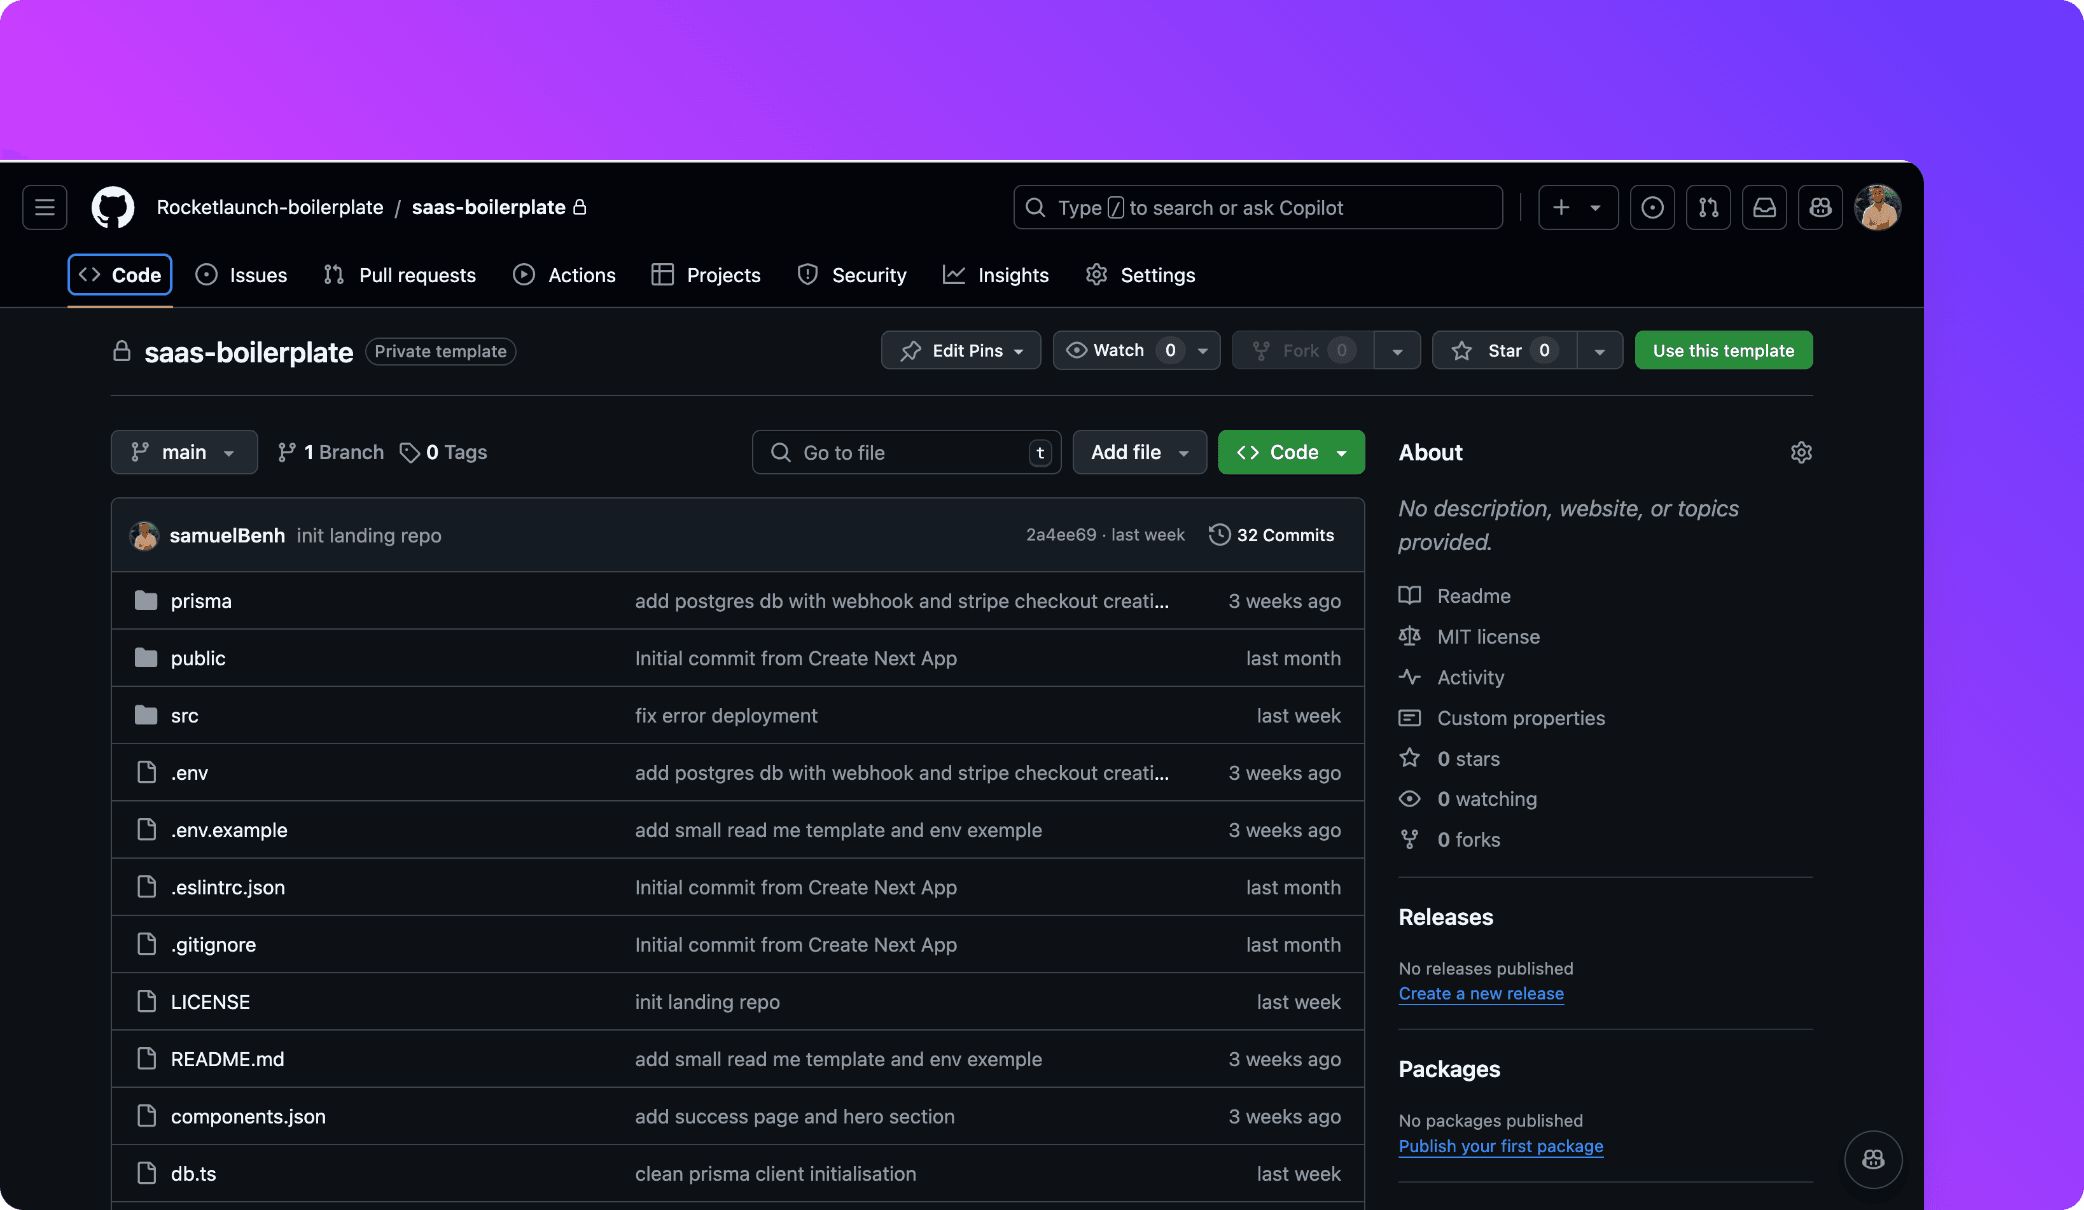
1. Generate Your Repository
First, use the provided use template button to generate your new repository for the SaaS project.
2. Clone the Project
Once your repo is generated, clone the project to your local environment:
git clone https://github.com/your-username/your-repo.git
3. Install Dependencies
Navigate to the project folder and install all necessary dependencies:
yarn install
4. Create a .env.local File
In the root of your project, create a .env.local file to store environment variables. This file will contain sensitive information required for your project.
5. Create an Account in Clerk
First, go to Clerk and sign up for an account.
Once signed in, create a new project and choose the authentication providers you wish to enable (Google, GitHub, etc.).
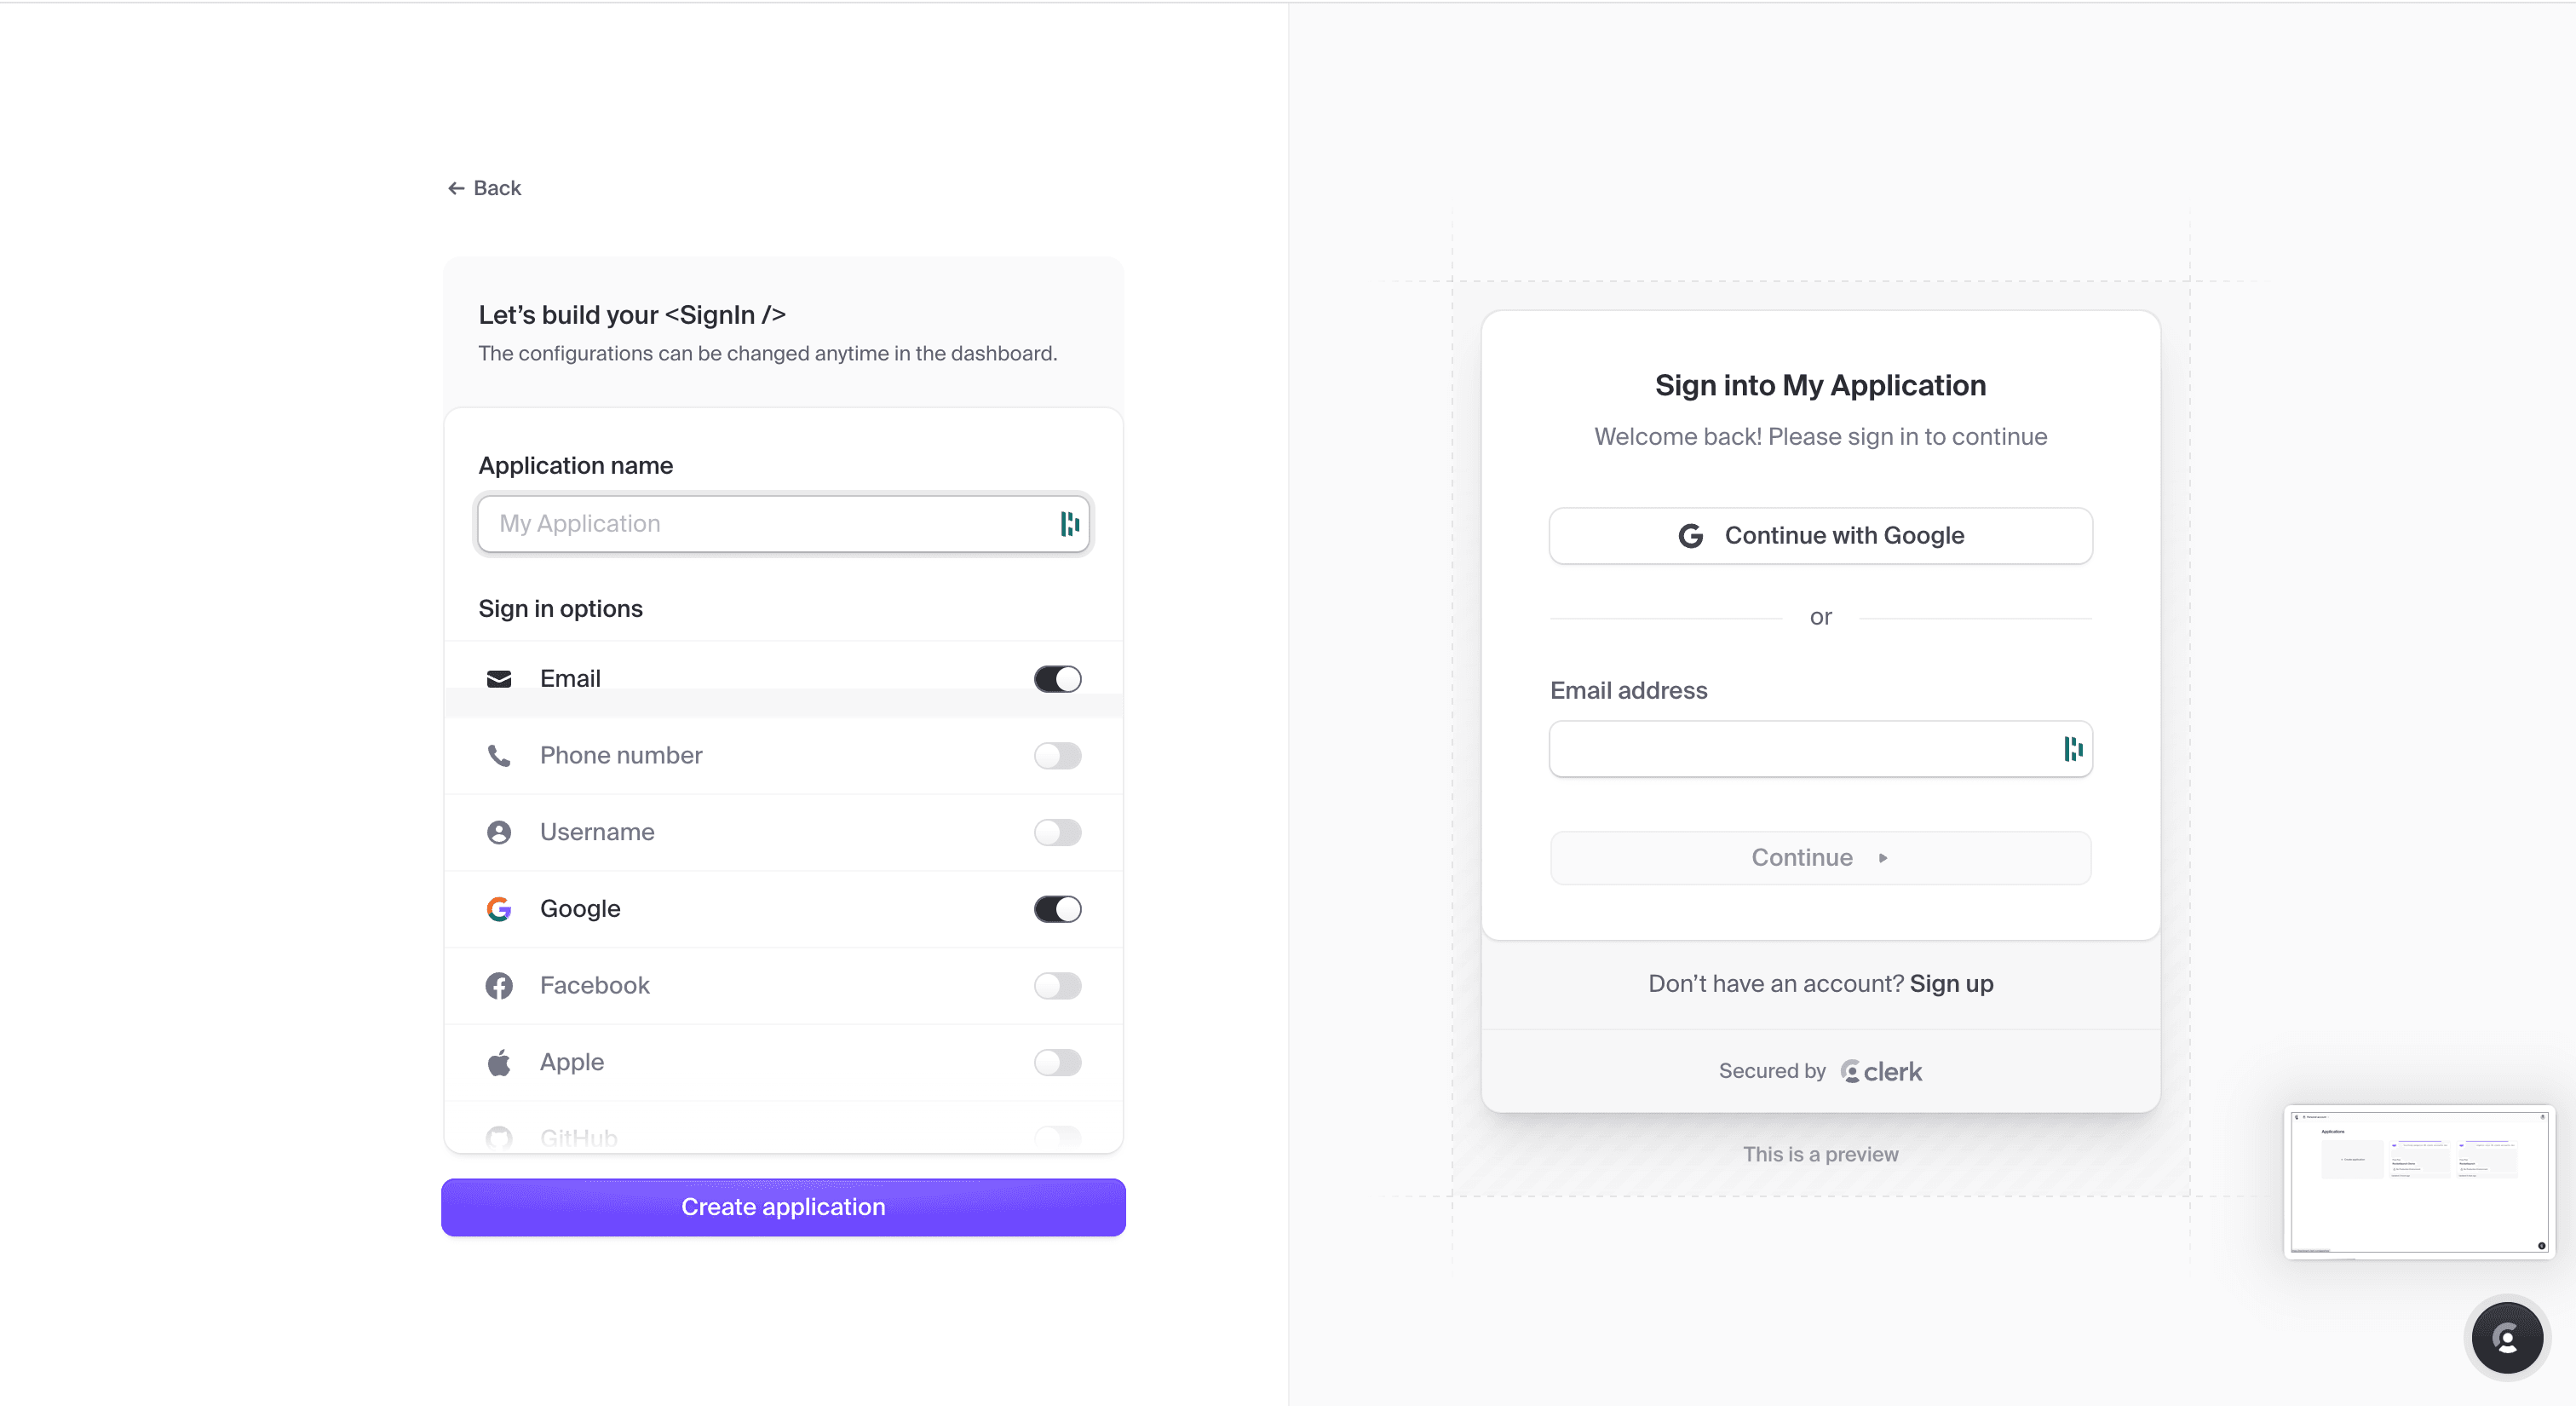
6. Copy Clerk Environment Variables
After setting up your project on Clerk, copy the required environment variables to your .env.local file. These variables can be found in your Clerk project dashboard.

Your .env.local file should look something like this:
NEXT_PUBLIC_CLERK_PUBLISHABLE_KEY=pk_test_**************
CLERK_SECRET_KEY=sk_test_**
7. Run the Project
Now that everything is set up, run the project locally:
yarn dev
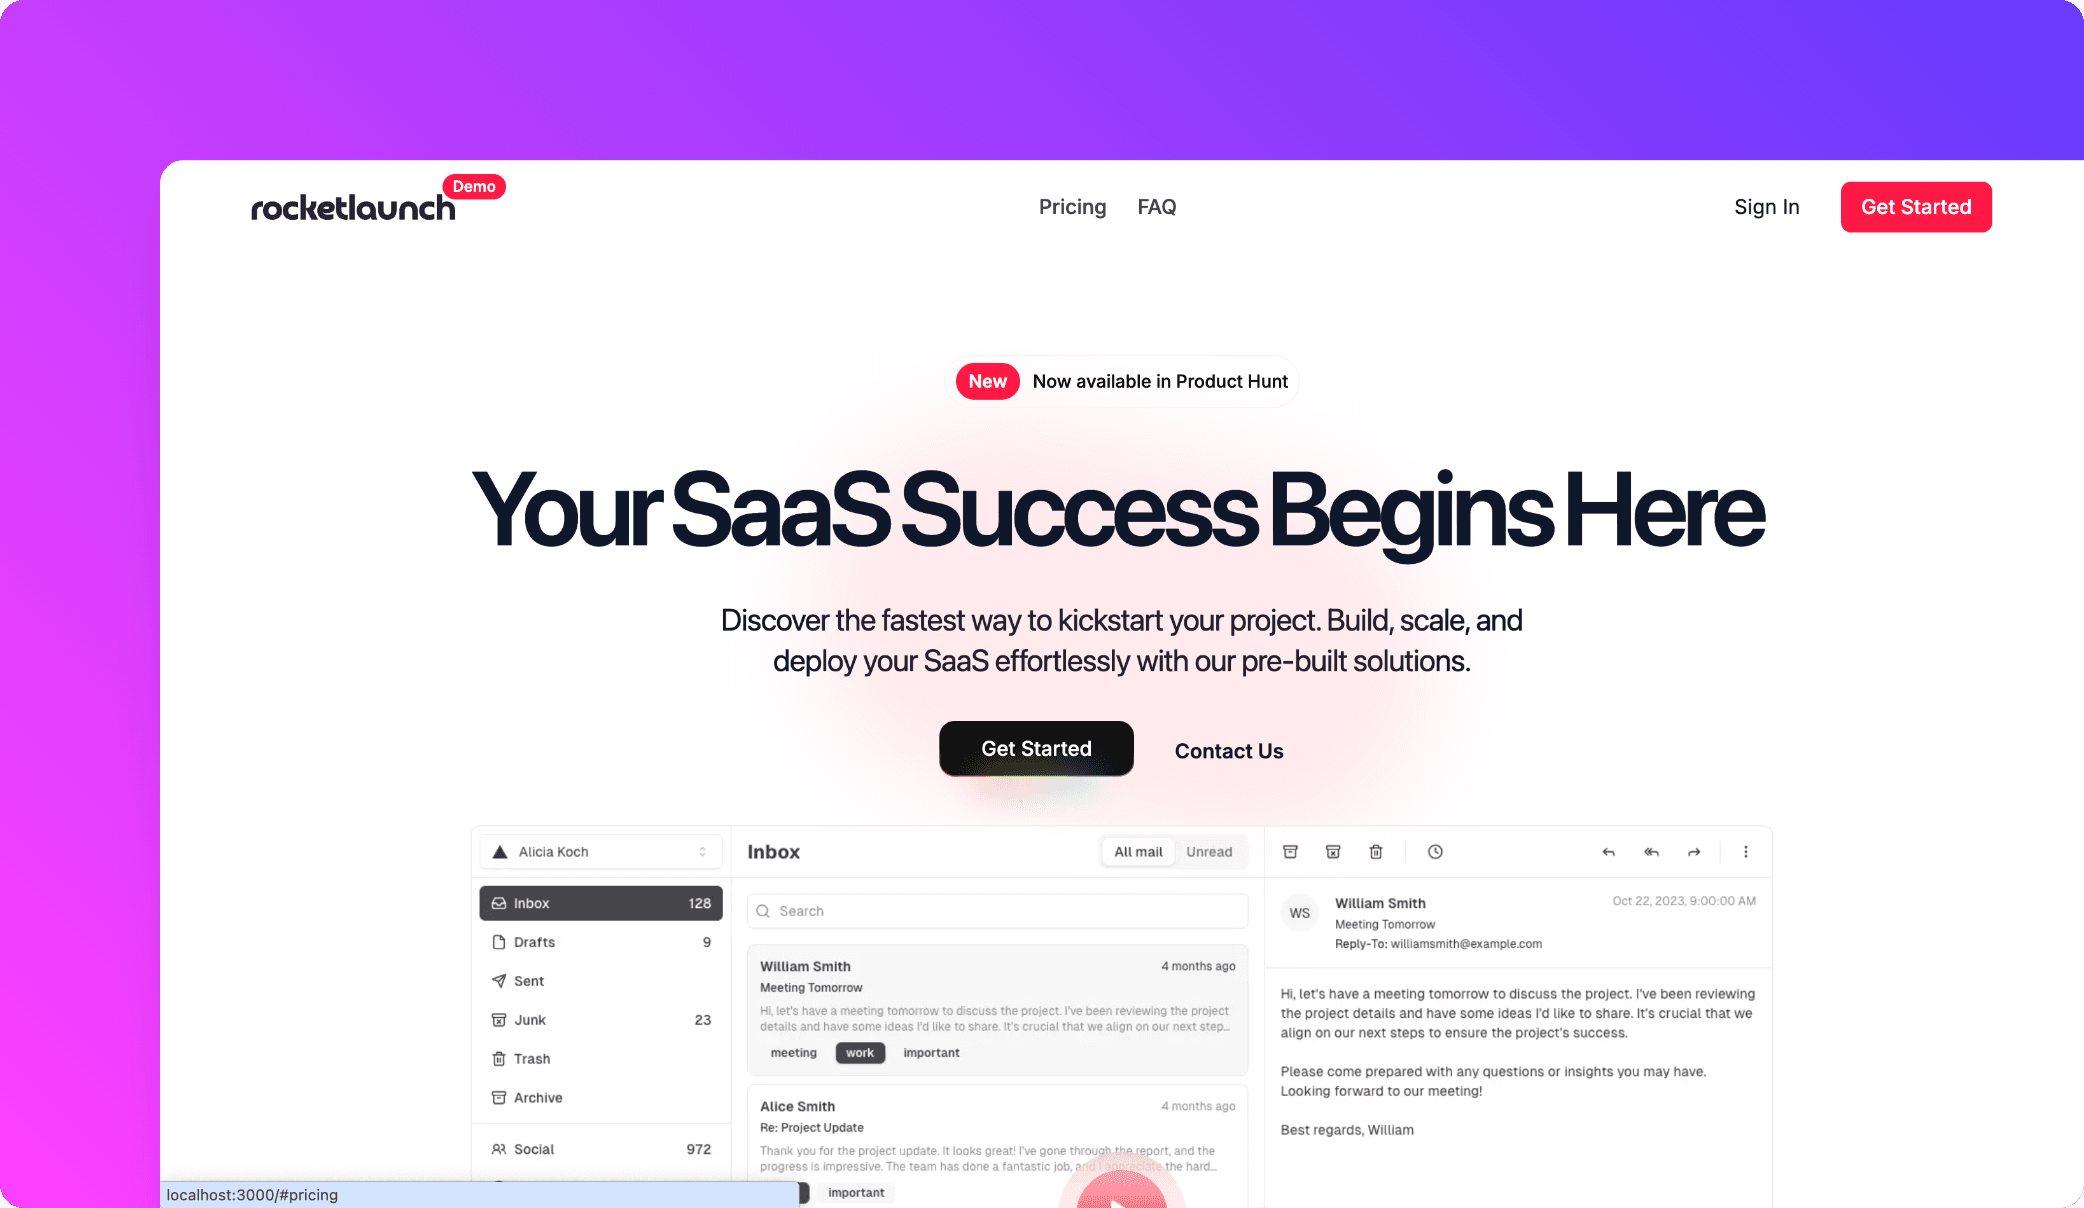
This will start the development server, and you should be able to see the landing page like this screenshot.
8. Sign In
Click on the Sign In button and choose the provider you configured in Clerk. Once authenticated, you will be successfully signed in to the platform !
You can now connect and see your user to the clerk dashboard, Congratulation ! 🎉
However, we want to handle the user in our Supabase database to also manage his subscription. Let's dive into the next page to connect the database to the project !