Adding Supabase Database
In this section, we'll guide you through adding a Supabase PostgreSQL database to your landing page.
Steps
1. Create an Account in Supabase
First, create an account at Supabase.
2. Create a .env File
In the root of your project, create a .env file.
Then, navigate to your project settings in Supabase and copy the database URL.
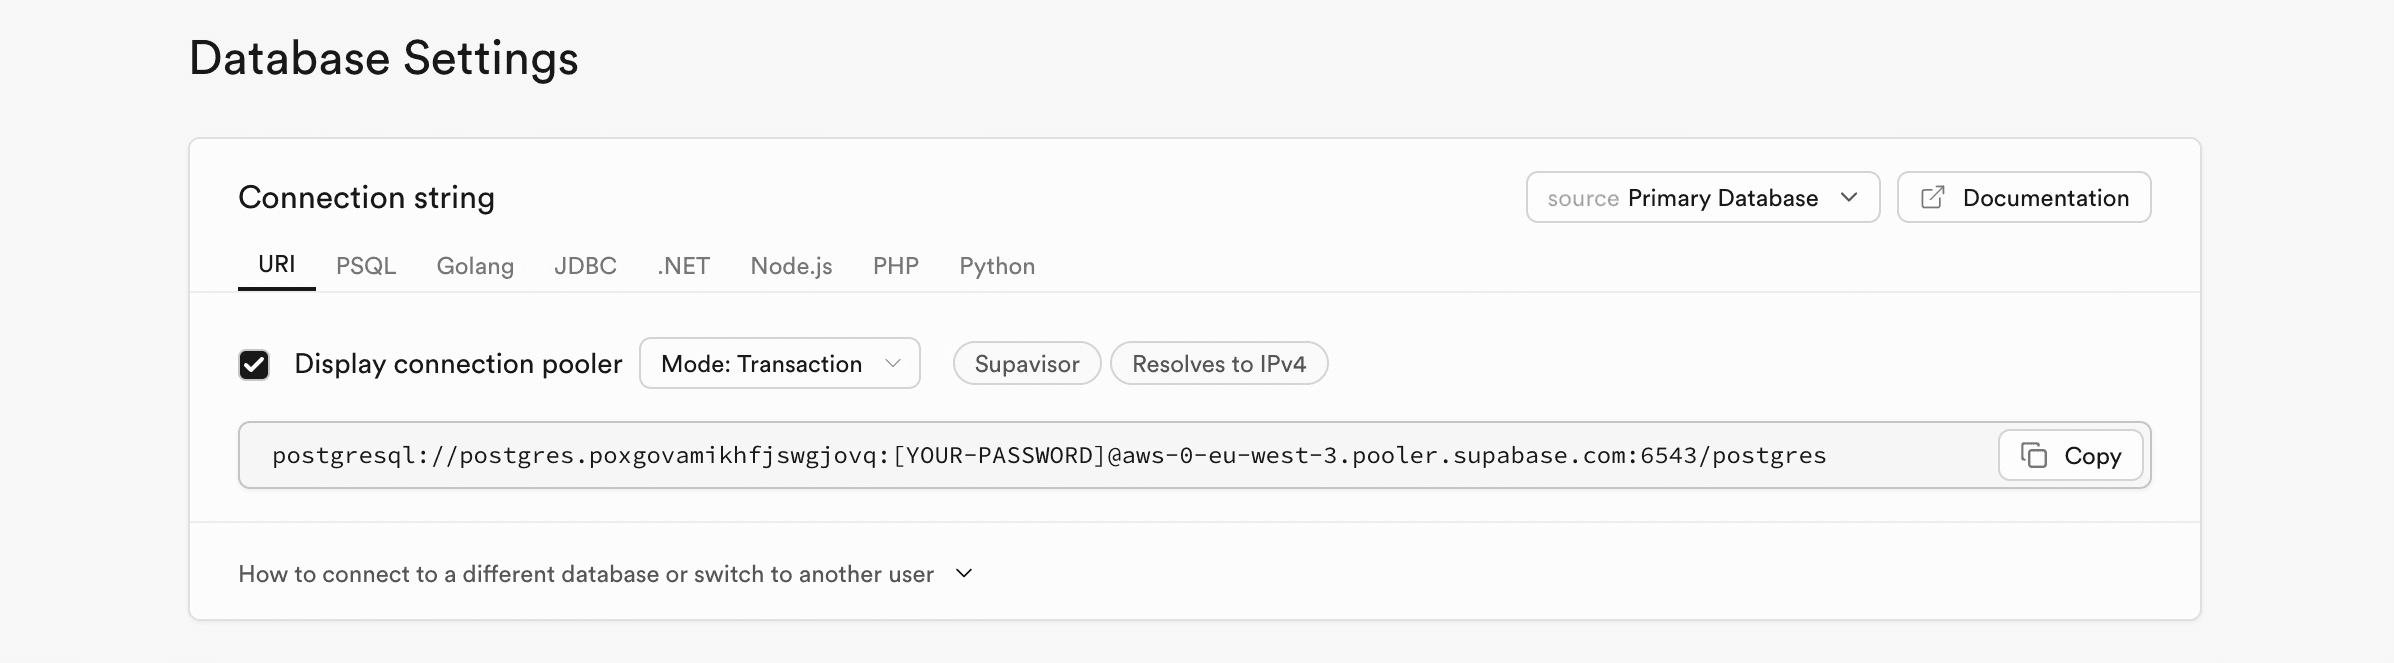
Add: ?pgbouncer=true at the end of the DATABASE_URL like in this exemple.
Your .env file should look like this:
DATABASE_URL=postgresql://postgres.***:[YOUR_PASSWORD]@aws-0-eu-west-3.pooler.supabase.com:6543/postgres?pgbouncer=true
DIRECT_URL=postgresql://postgres.***:[YOUR_PASSWORD]@aws-0-eu-west-3.pooler.supabase.com:5432/postgres
3. Run Prisma Migrations
Use the following command to initialize the database and create your tables:
npx prisma migrate dev --name init
You can now see the empty user table in the Supabase dashboard under Table Editor > User.
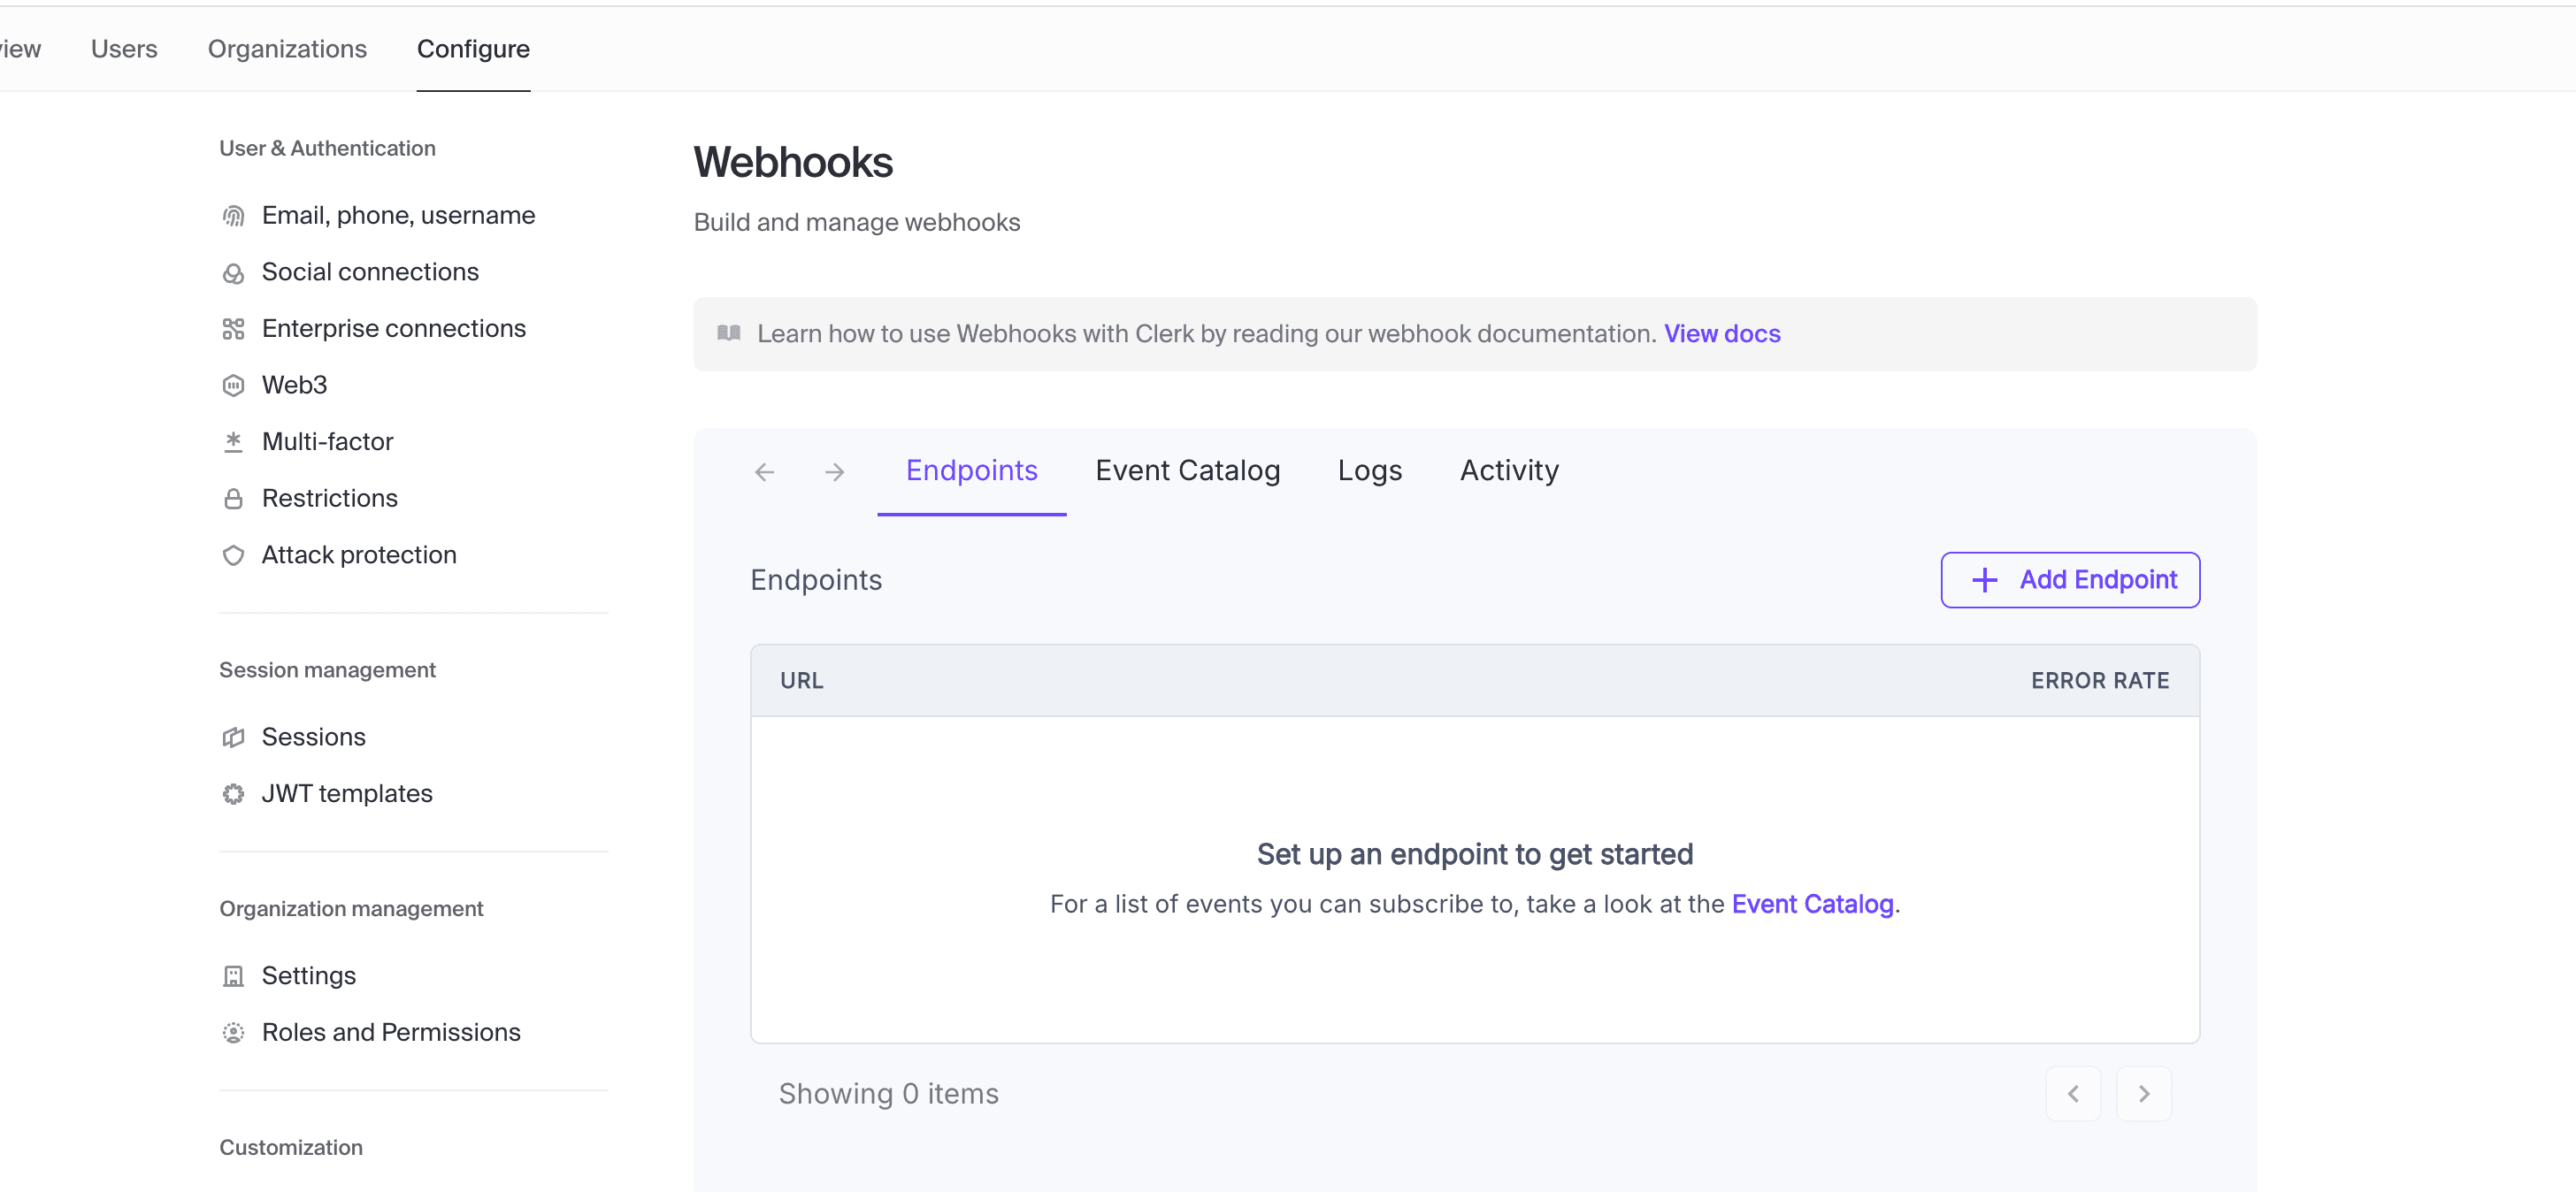
4. Set Up Clerk Webhook
Next, create a Clerk webhook to add newly created users to your database. Go to the Clerk dashboard and navigate to Configure > Webhooks.
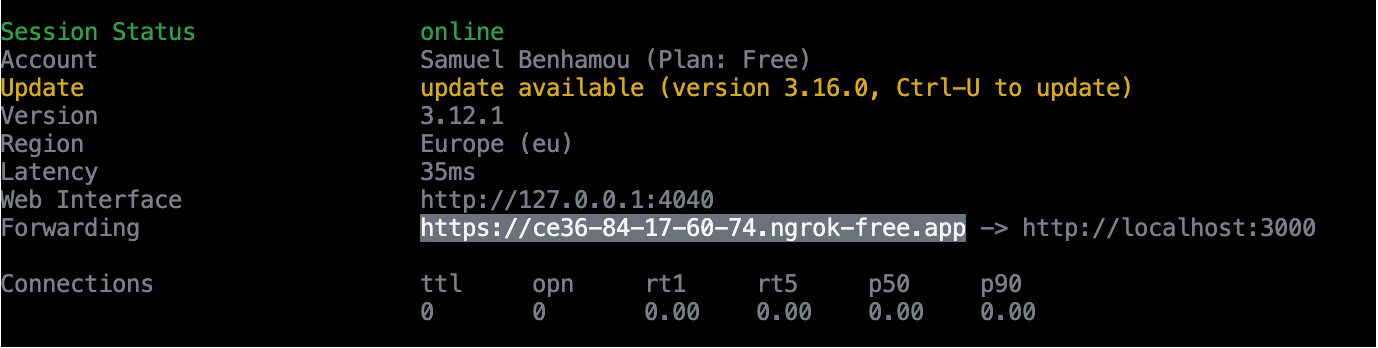
5. Test with Ngrok
Since you can't test webhooks with localhost, use Ngrok to create a secure tunnel. Run the following command:
ngrok http http://localhost:3000
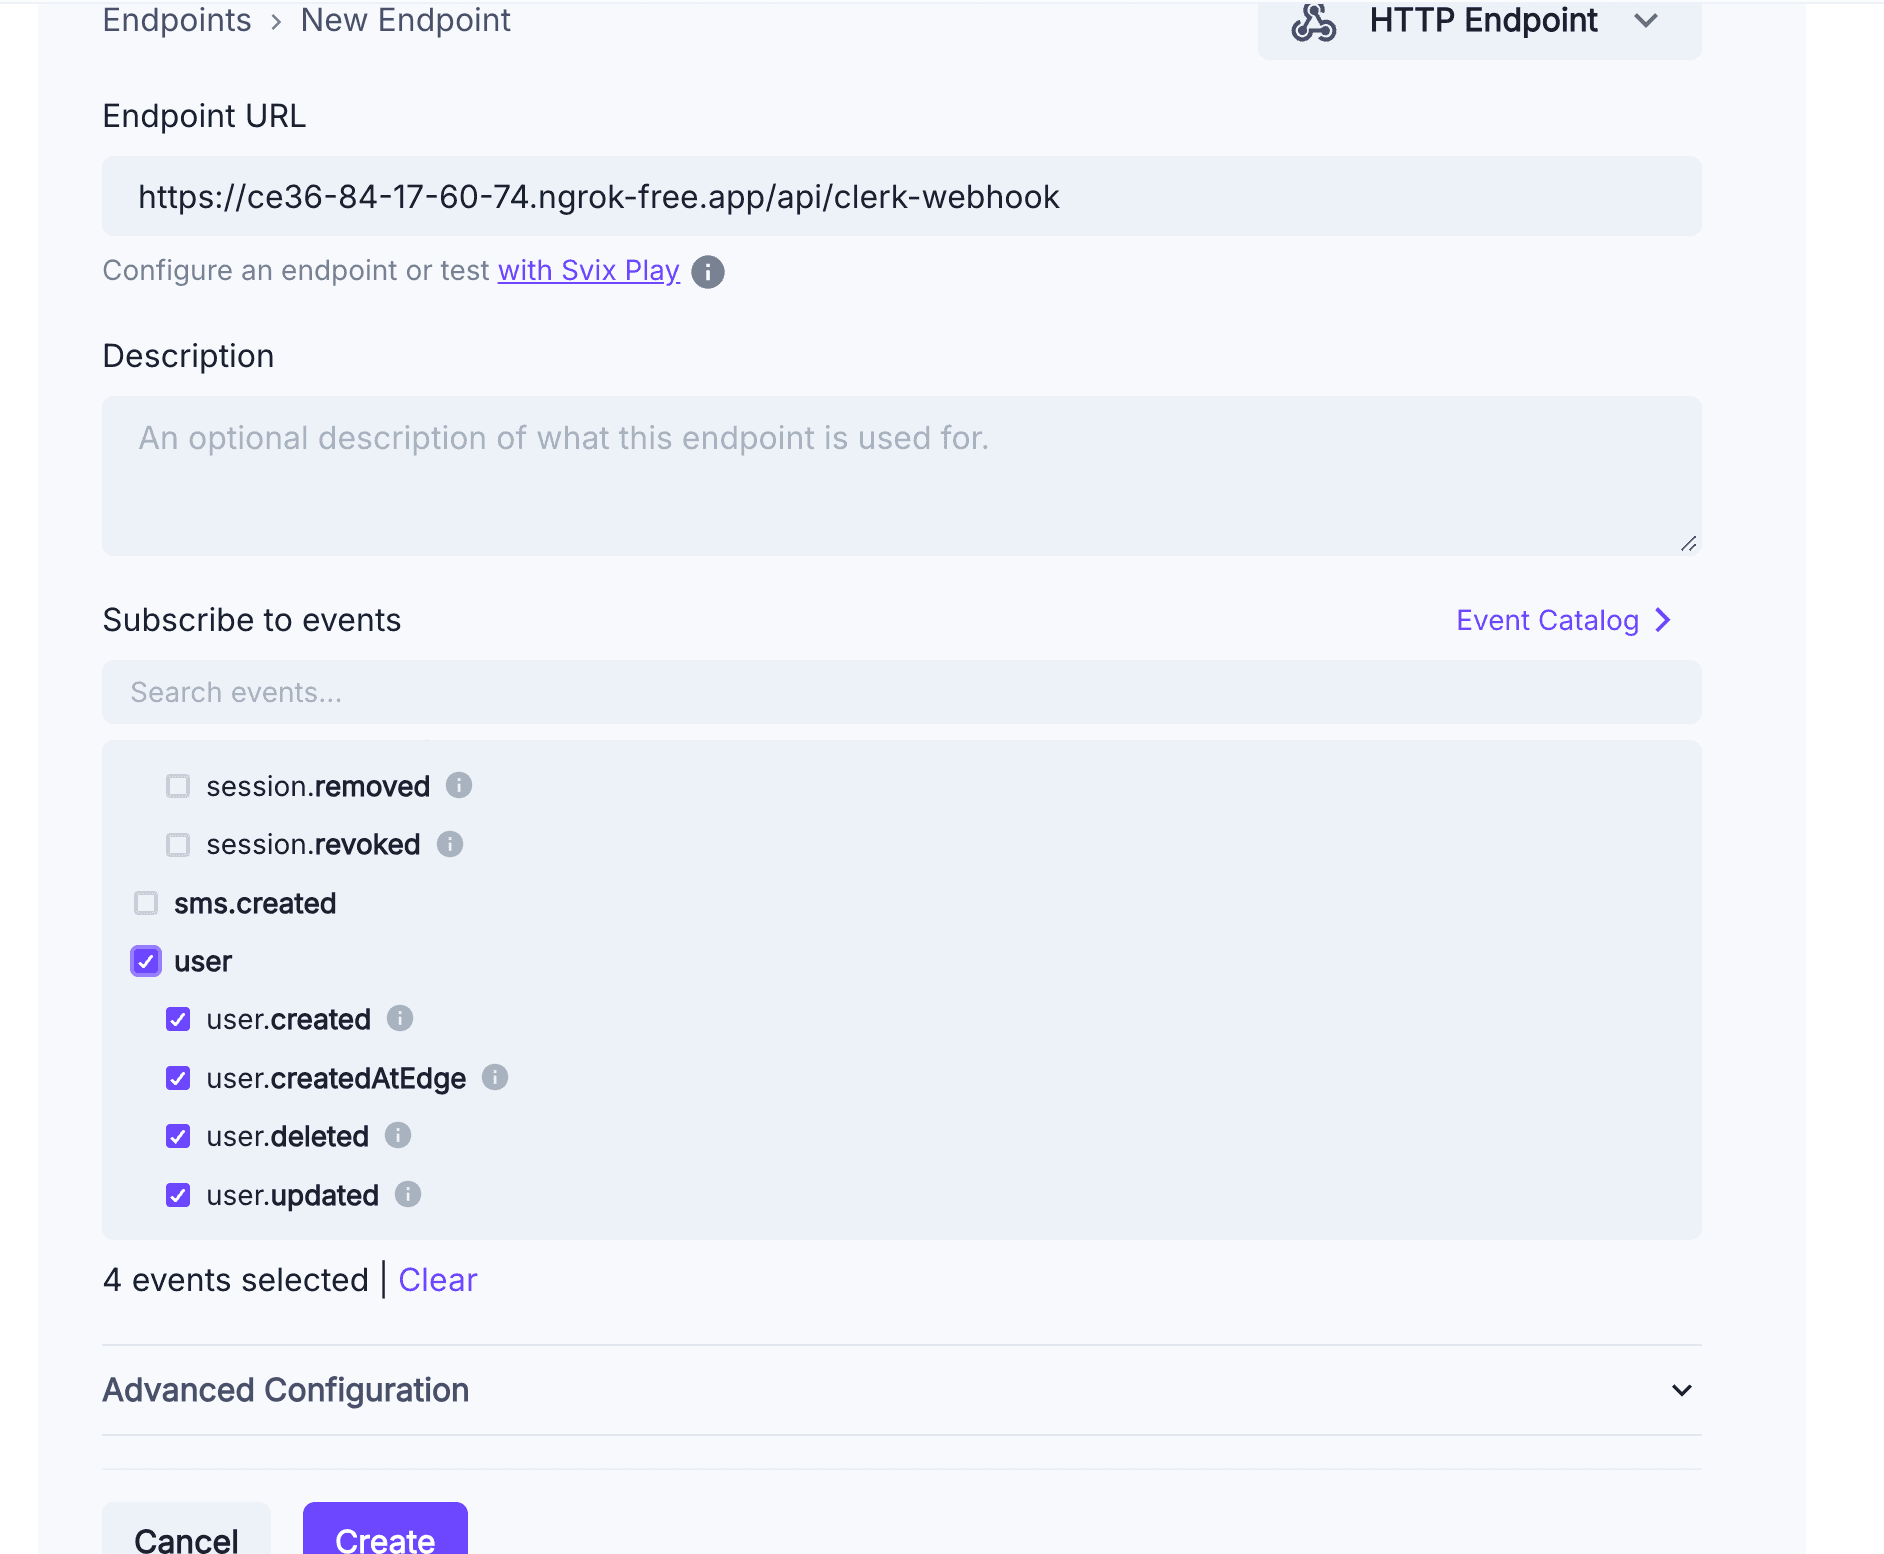
6. Configure Clerk Webhook
Use the forwarding URL from Ngrok and add it to the Clerk webhook configuration like this:
[YOUR_URL]/api/clerk-webhook
Make sure to check the User Created event in the webhook settings like this.
7. Add Webhook Secret to .env.local
You will receive a Clerk webhook secret key. Add this key to your .env.local file:

CLERK_WEBHOOK_SECRET=your_webhook_secret_here
Your .env.local file should look like this:

8. Test User Creation
Now, try to connect to your website. You should see the user created in the database. After you log in with the user, the Clerk webhook will be triggered and will create your user in the database.
⚠️ Important: If the user already exists in your Clerk dashboard, the webhook will not be triggered. Ensure the user you connect with is not already in the Clerk user list. If you want to test the webhook, you can delete the user from the Clerk dashboard or log in with a new account.
Conclusion
You’re all set! Now you can see that your user is created in the database with an inactive status and no Stripe account set up yet.