Go Live with Vercel
In this section, we’ll guide you through deploying your new SaaS application using Vercel.
Steps
1. Create a New Project in Vercel
Begin by adding a new project to your Vercel dashboard.
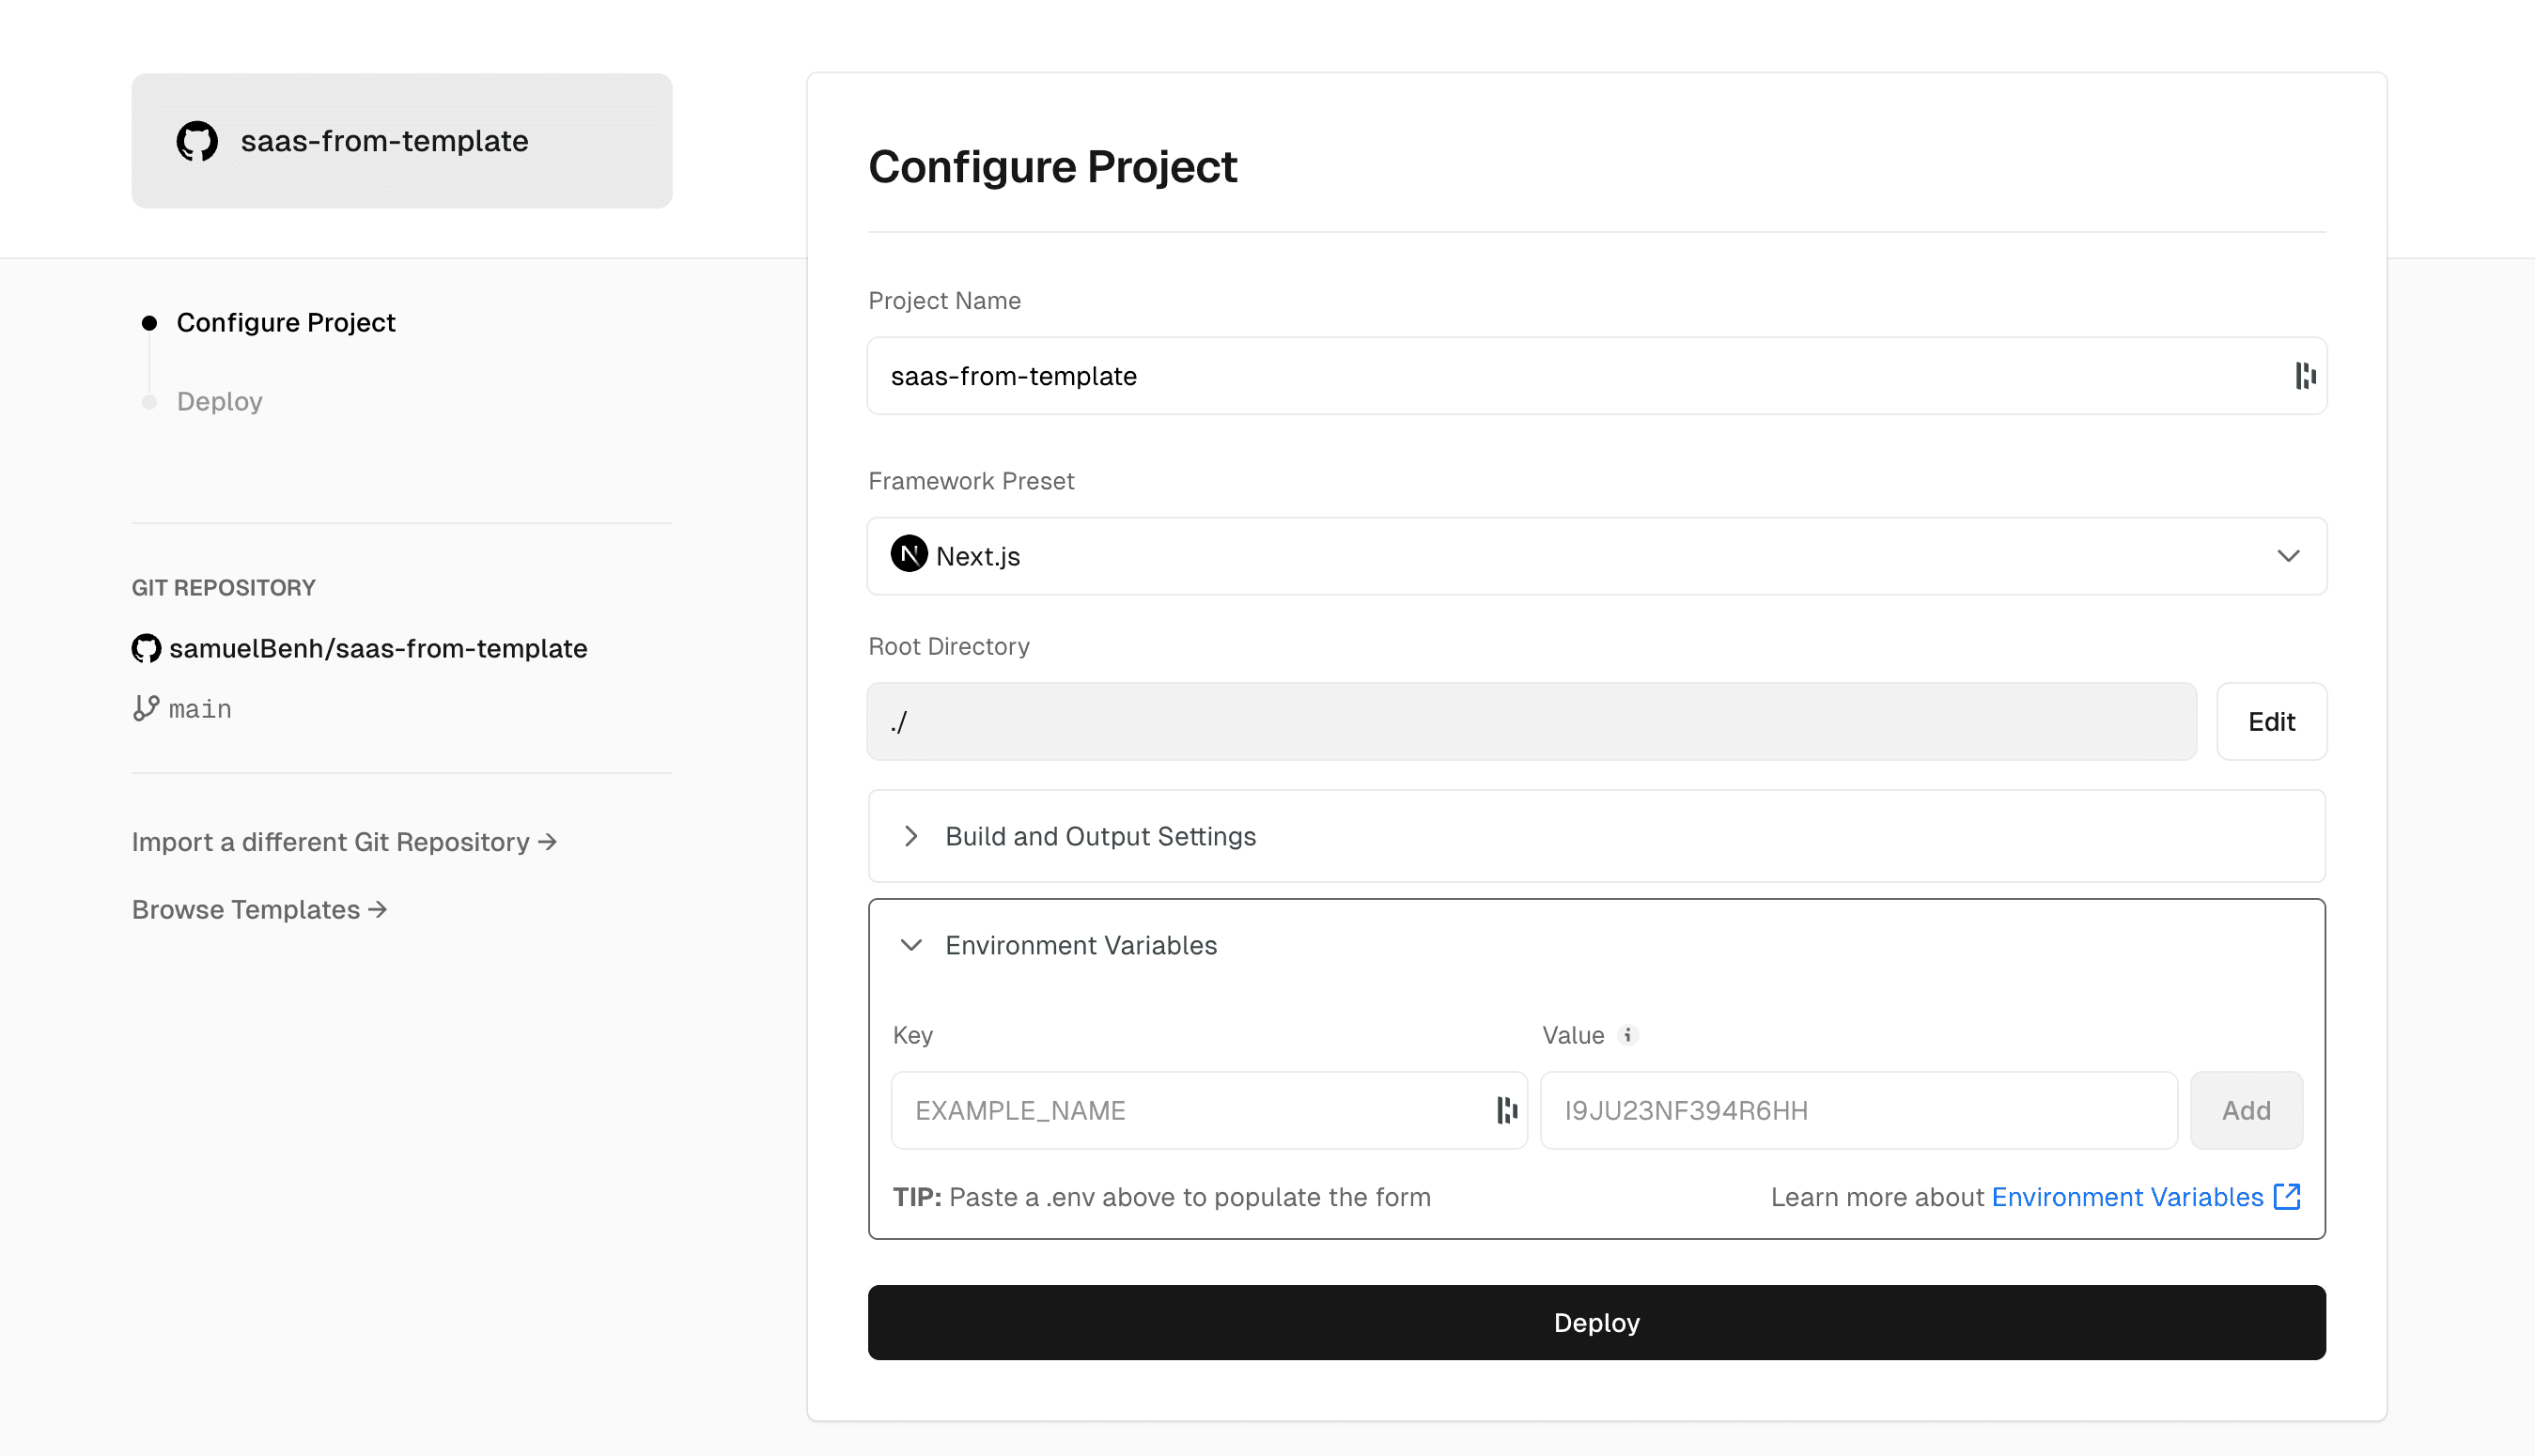
2. Set Up Environment Variables
Open the Environment Variables section in your Vercel project settings.
Next, go to your .env.local file and copy its contents into this section. Your .env.local file should look like this (don’t forget to include your database URL):
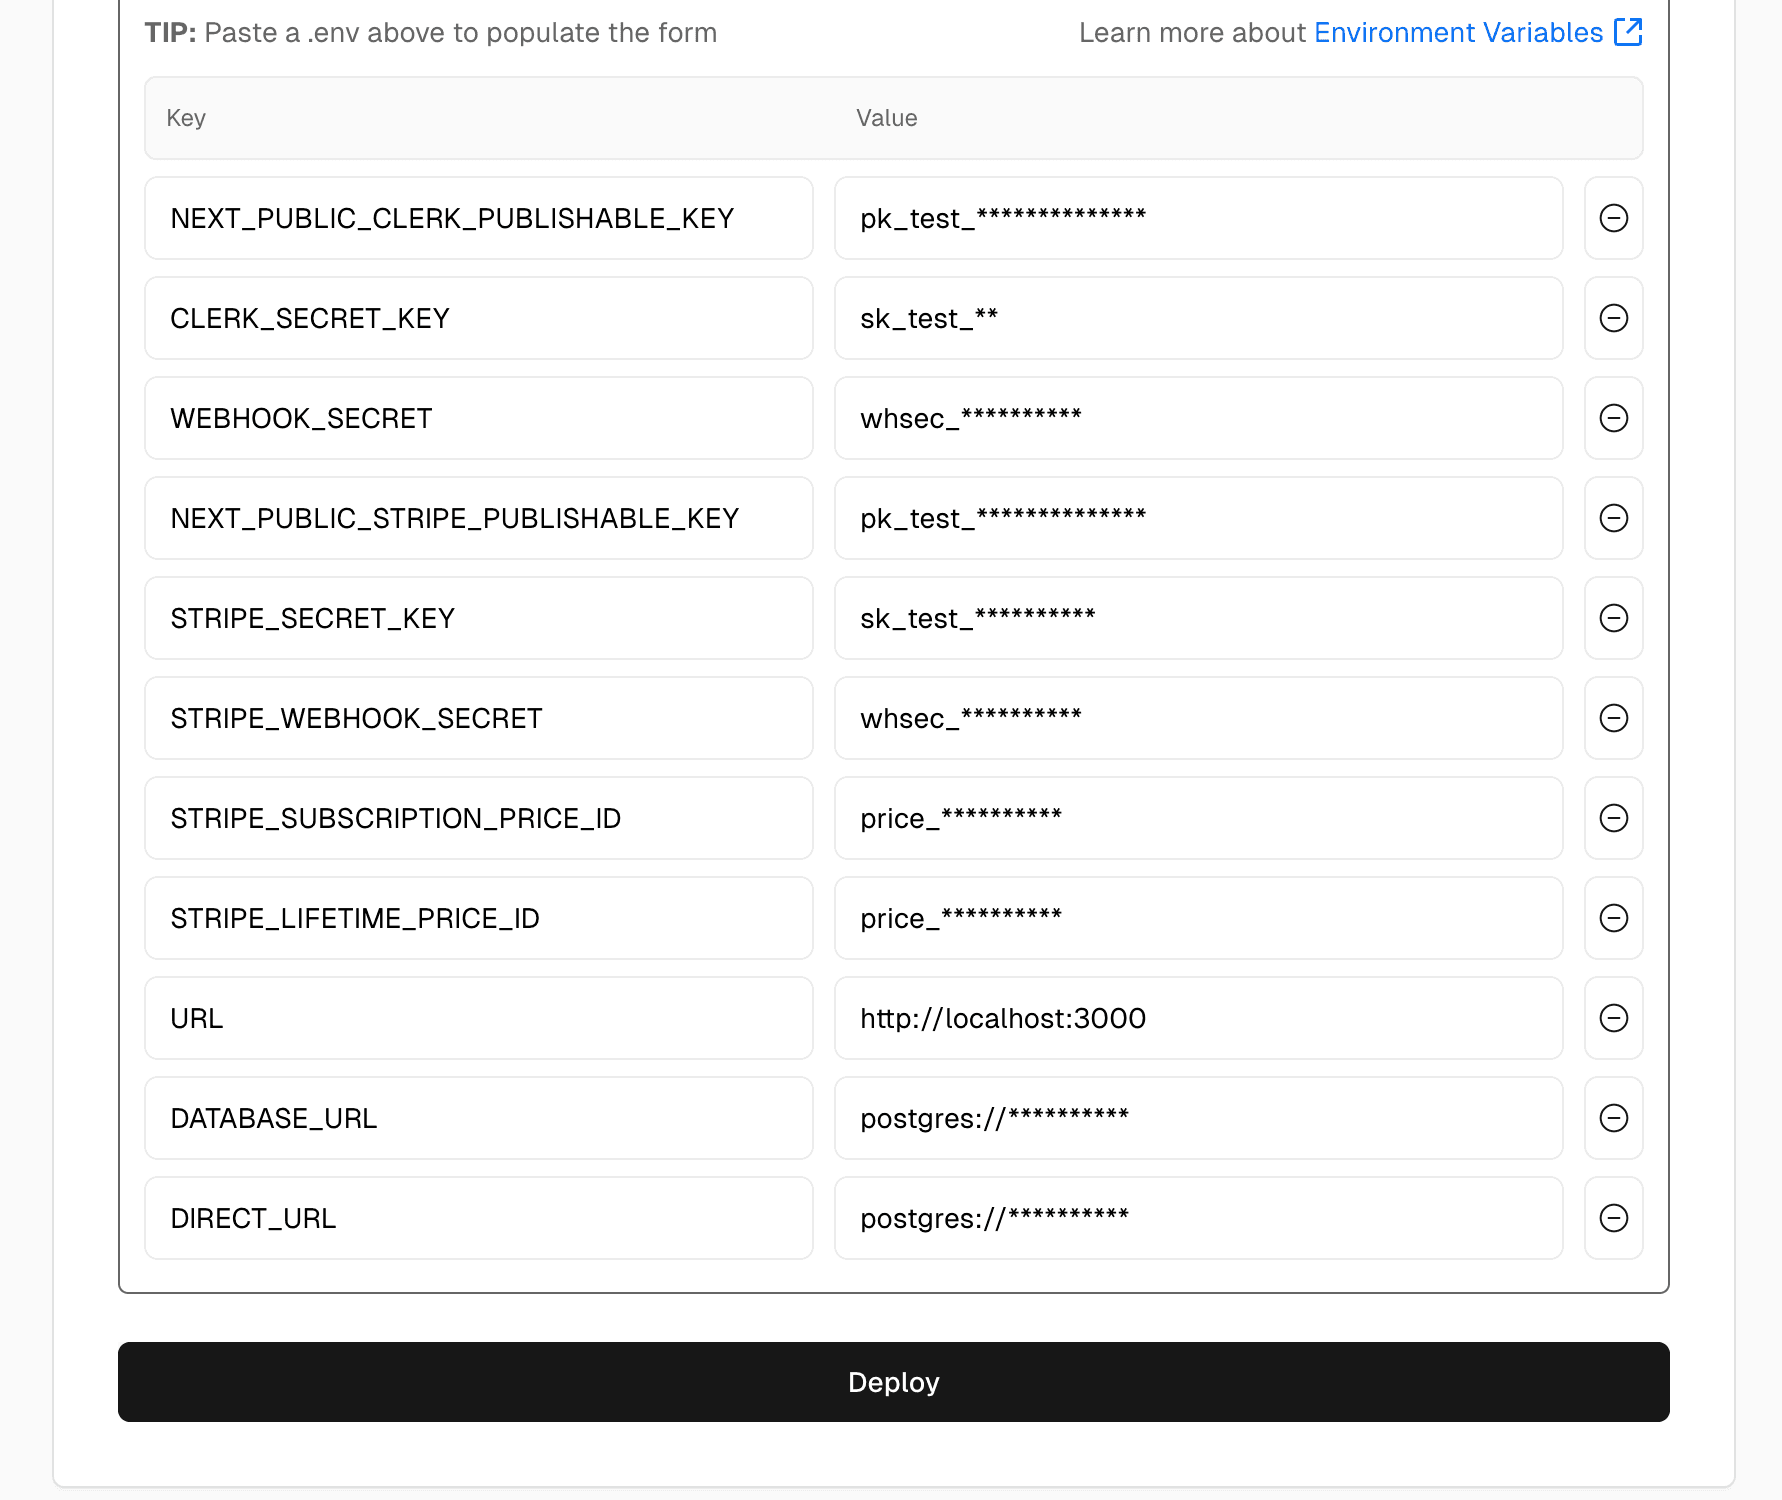
Verify that you have all the necessary data by checking the .env.example file.
3. Deploy Your Application
After copying and pasting the content from your .env.local file, ensure all the variables are filled out in Vercel’s dashboard.
Now, click on the Deploy button and wait for Vercel to build and deploy your website!
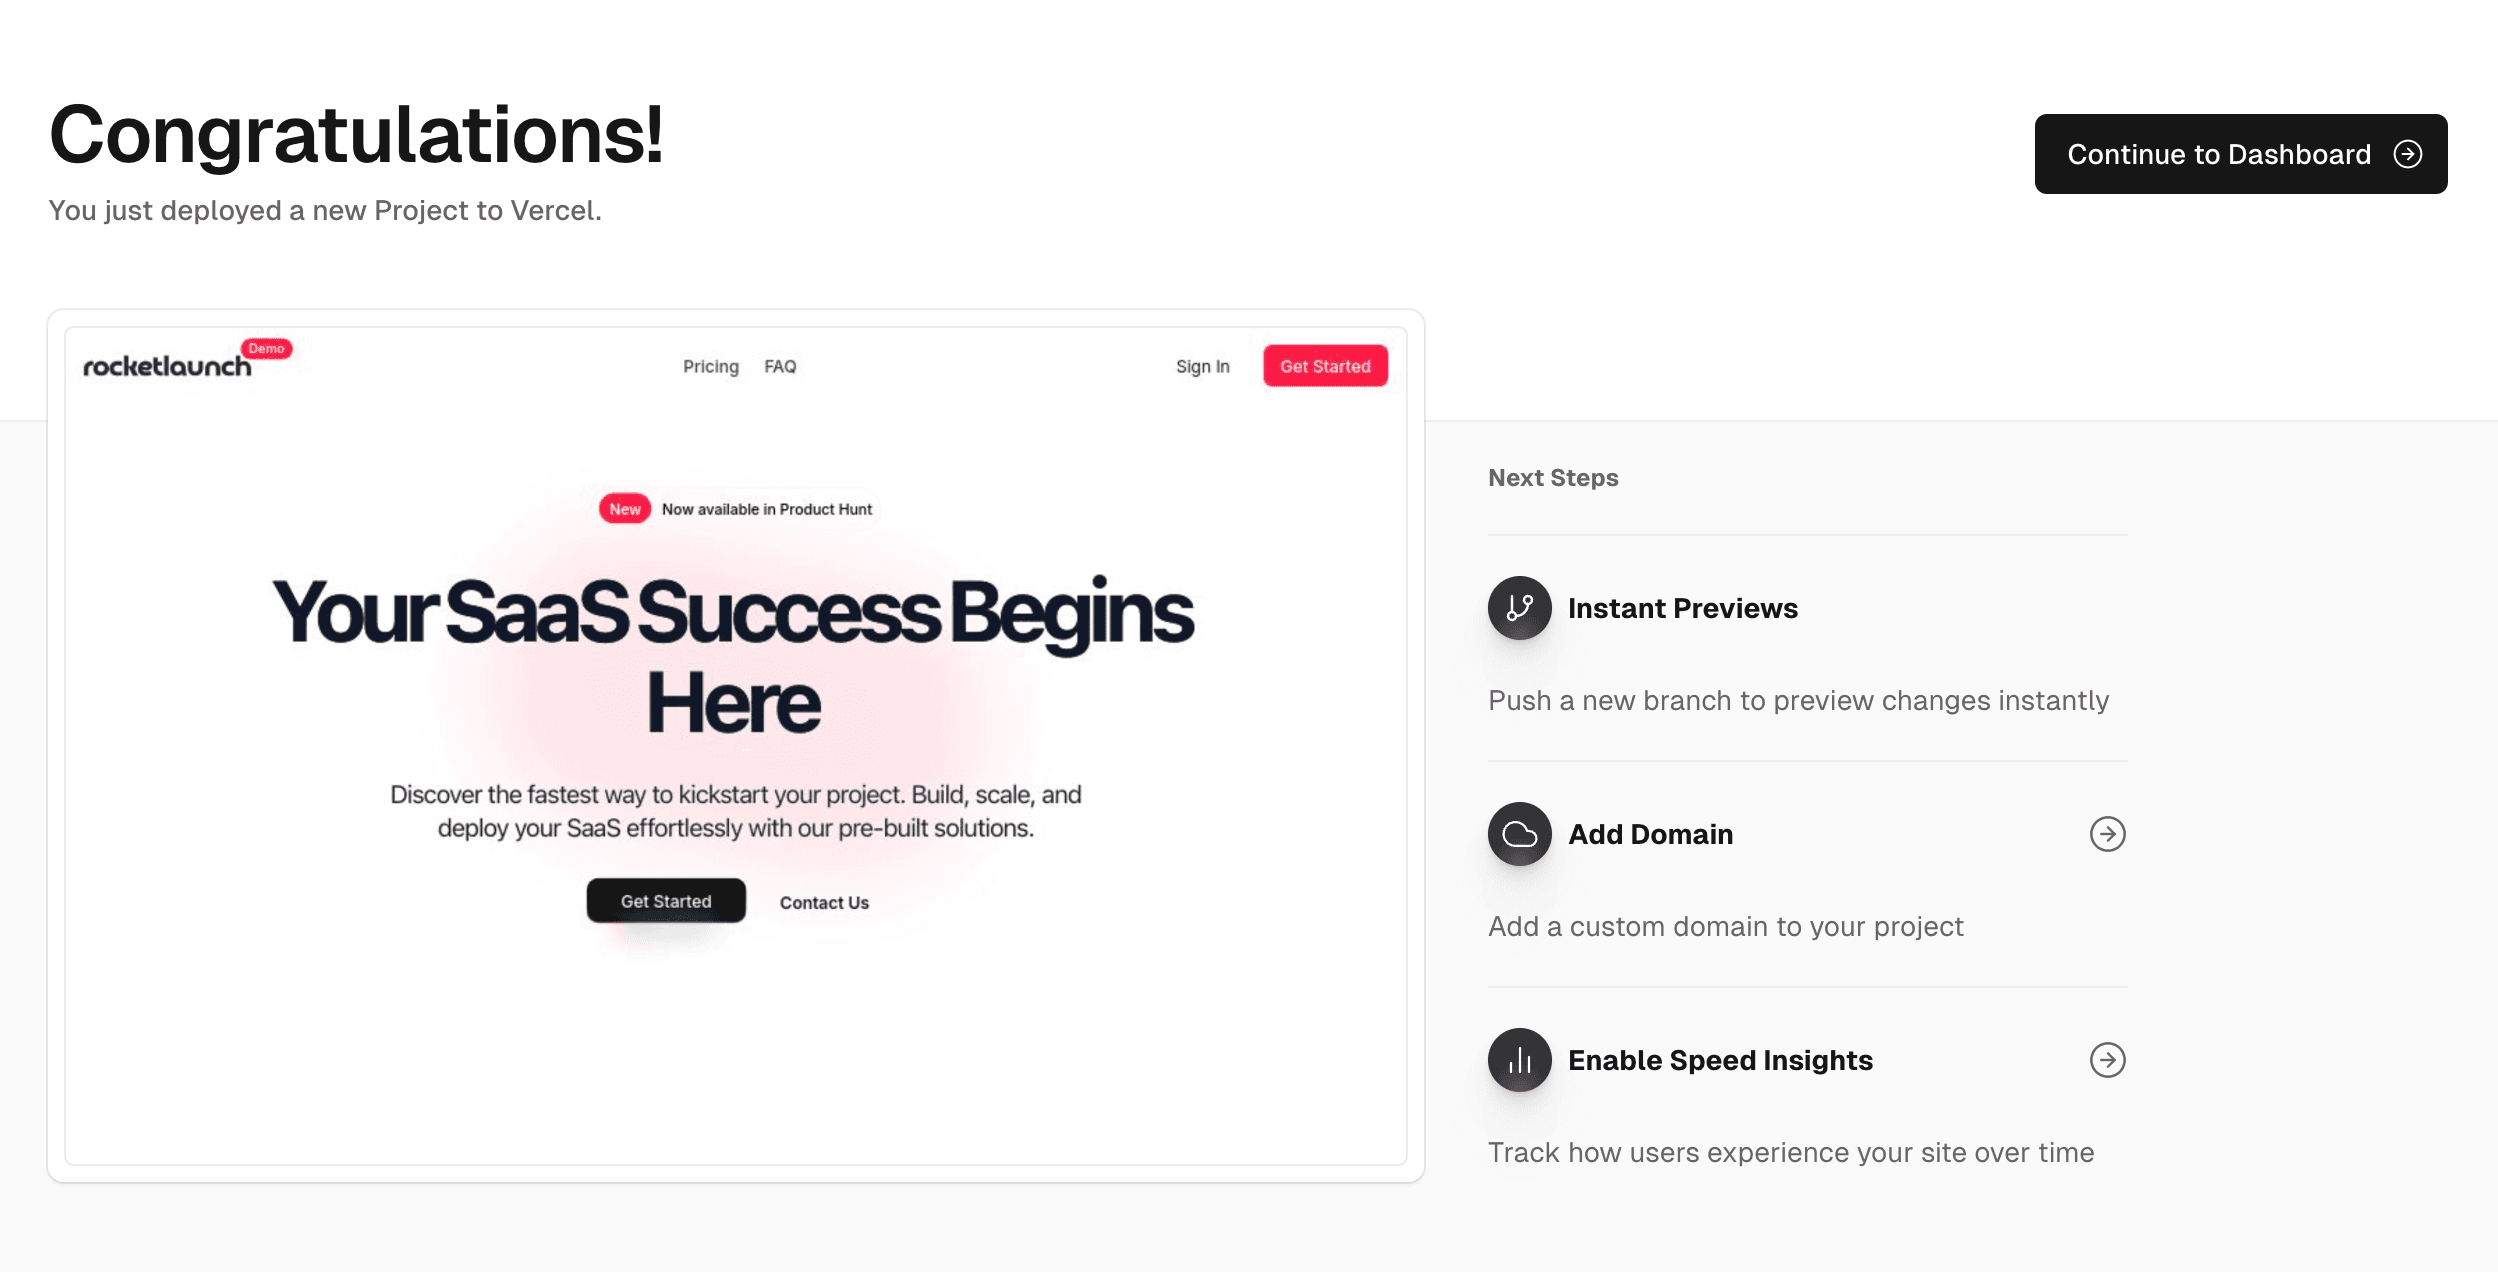
4. Verify Deployment
Once the deployment is complete, you should see a success message indicating that your site is live.
5. Finalize Clerk and Stripe Settings
And that’s it! You’re now ready to showcase your SaaS project to the world!
You now have live access to your new SaaS application! However, please note that Clerk and Stripe are still in development mode. In the next steps, we will configure them for production.
6. Switch Clerk to Production
-
Go to your Clerk dashboard and select your application.
-
Click on Instances in the left sidebar.
-
Create or select the Production instance.
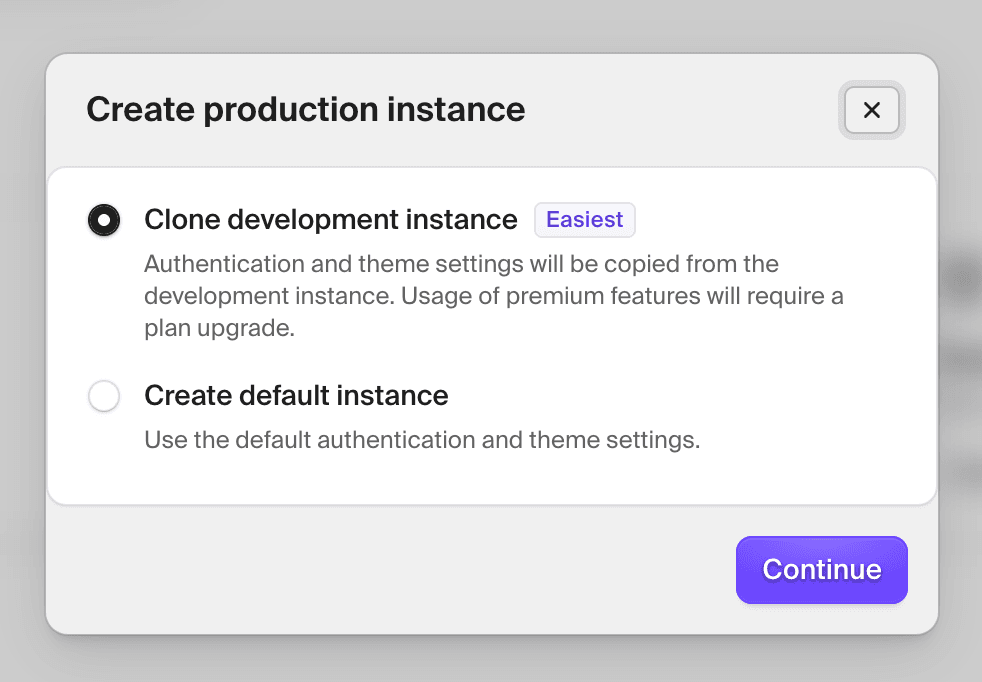
-
In the Production instance, make sure you:
- Copy the production Clerk Publishable Key and Secret Key.
-
Update your Vercel environment variables:
CLERK_PUBLISHABLE_KEYCLERK_SECRET_KEY- with the production values.
-
In the Production instance, go to the Webhooks section.
-
Create a new webhook with the following settings:
- URL: Your production URL like the screenshot ([your_url]/api/clerk-webhook).
- Permissions: Select the following permissions: -
user.created-user.createdAtEdge-user.deleted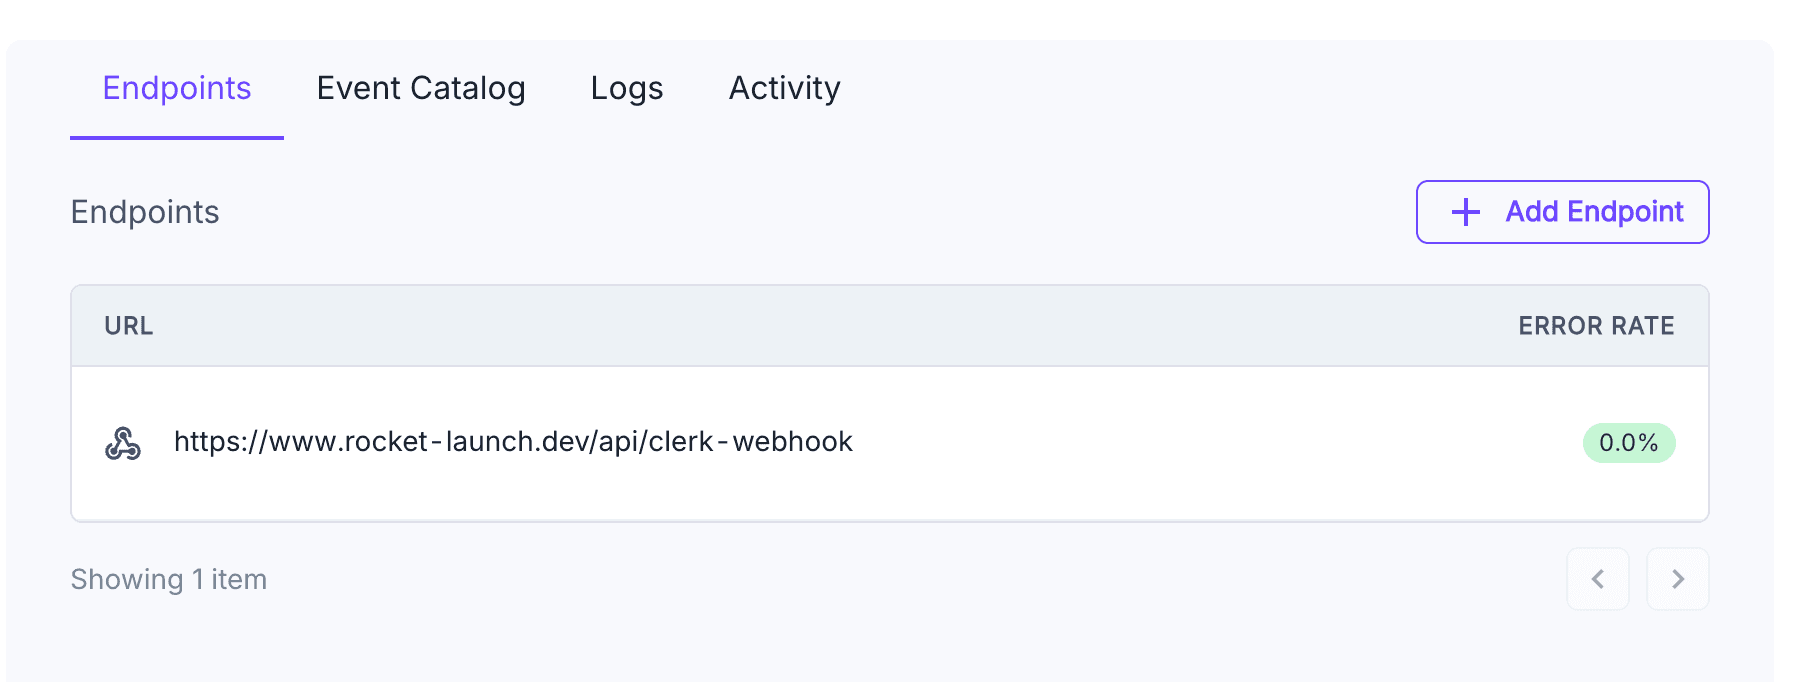
6. Switch Stripe to Production
- Go to your Stripe Dashboard.
- Switch the toggle at the top-left from Test mode to Live mode.
- Get your Live Secret Key and Webhook Signing Secret:
- Live Secret Key: From Developers > API keys.
- Webhook Signing Secret: From Developers > Webhooks, click on your webhook and copy the live signing secret.
- Webhook URL: Make sure the webhook URL looks like this: [your_url]/api/stripe-webhook, as shown in the screenshot.

- Update the following environment variables in your Vercel project:
STRIPE_SECRET_KEYSTRIPE_WEBHOOK_SECRETNEXT_PUBLIC_STRIPE_PUBLISHABLE_KEYSTRIPE_PRICE_ID(make sure it’s a live product price ID)
7. You're Live!
Your application is now fully live and ready for real users and payments. 🚀